Create inputs
Our flow will have 8 inputs. To create and insert an input, use the keyboard hotkey CTRL + SPACE. Then, select “inputs”.
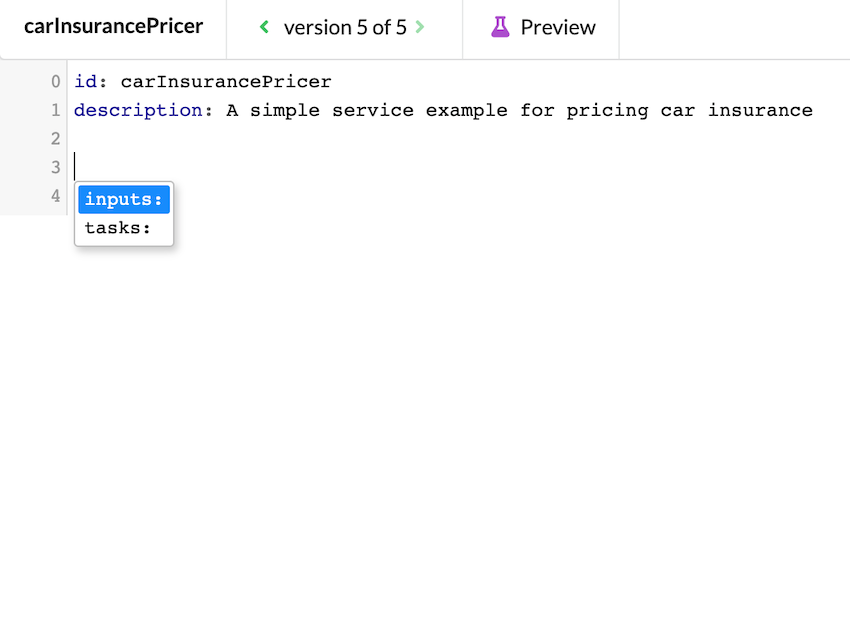
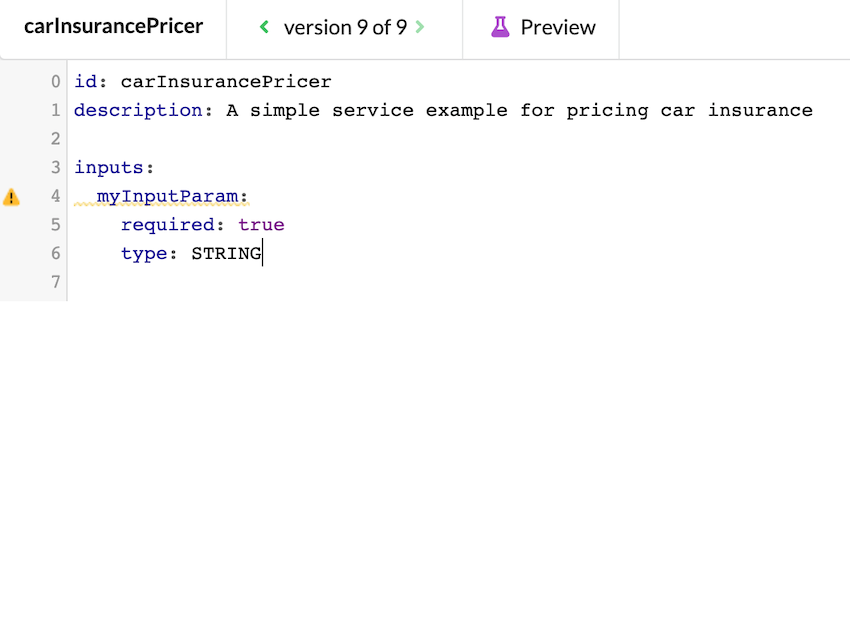
Upon the creation of a new input, you will get a default “skeleton” that you need to edit.
The first input we will create is ageOfDriver. It makes sense that this should be an integer.
Move your cursor to line 4 (myInputParam), delete the word “myInputParam”, and replace it with ageOfDriver. This blue text is the task description, so in reality, you can name it whatever you want without having any impact on functionality.
Next, change the data type from STRING to INTEGER. There are two ways you can do this:
- by simply deleting the word STRING and typing INTEGER in its place.
- by positioning your cursor anywhere on line 6 and using
CTRL + SPACEto bring up a dropdown menu from which you can select the types.
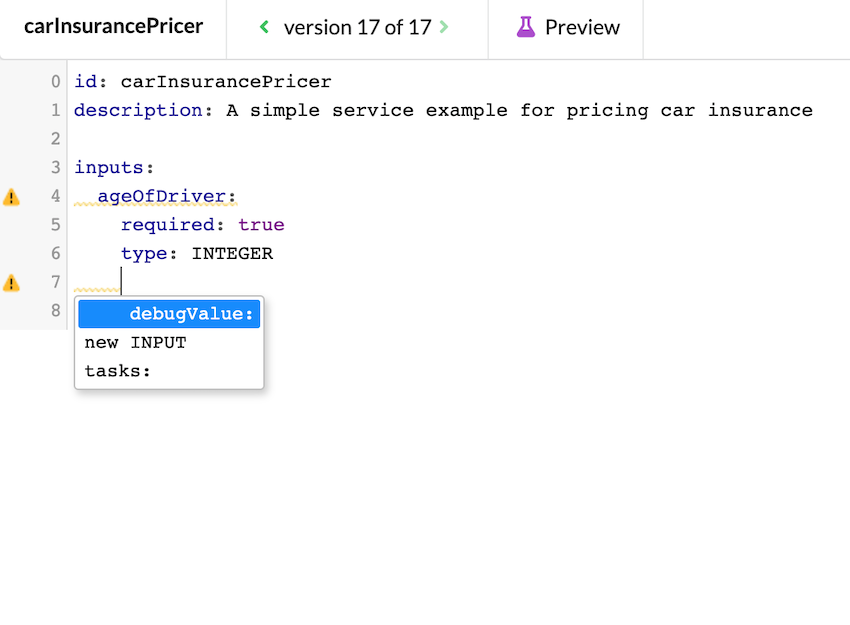
After you have done these things, you should see the following:

This is enough in itself, but we will go ahead and add a “debug value” to this input. A debug value will act as a default value when testing this flow. To insert a debug value, place your cursor on line 7 and use CTRL + SPACE to bring up the “Insert” dropdown and select debugValue.
Enter 21 as the debug value.
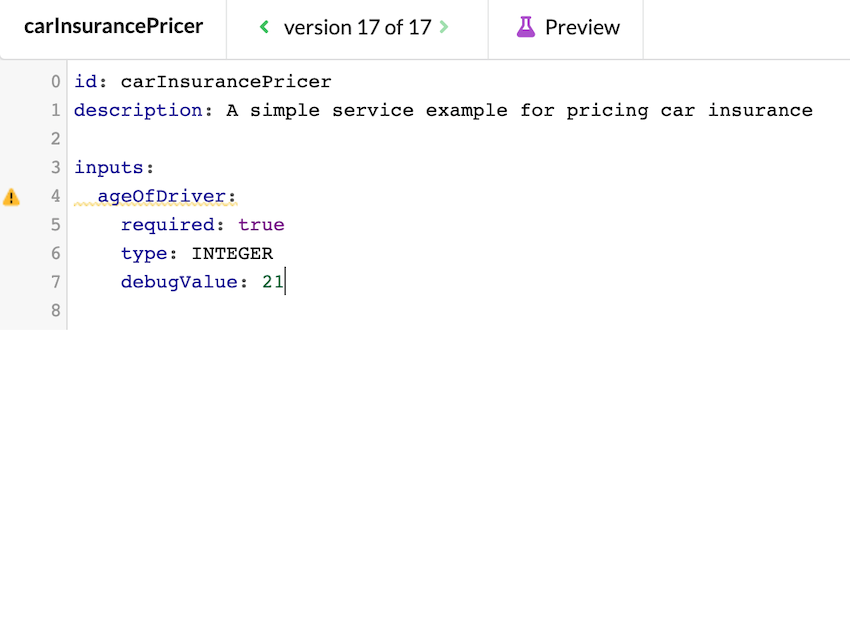
Don't forget to save your changes and that theWrench does not save automatically!
After you create the first input, all subsequent inputs are created via a modal window that pops up when you use CTRL + SPACE and select new INPUT. We will now see this in practice as we create the second input: makeOfCar.
After CTRL + SPACE + new INPUT, you will see this modal:
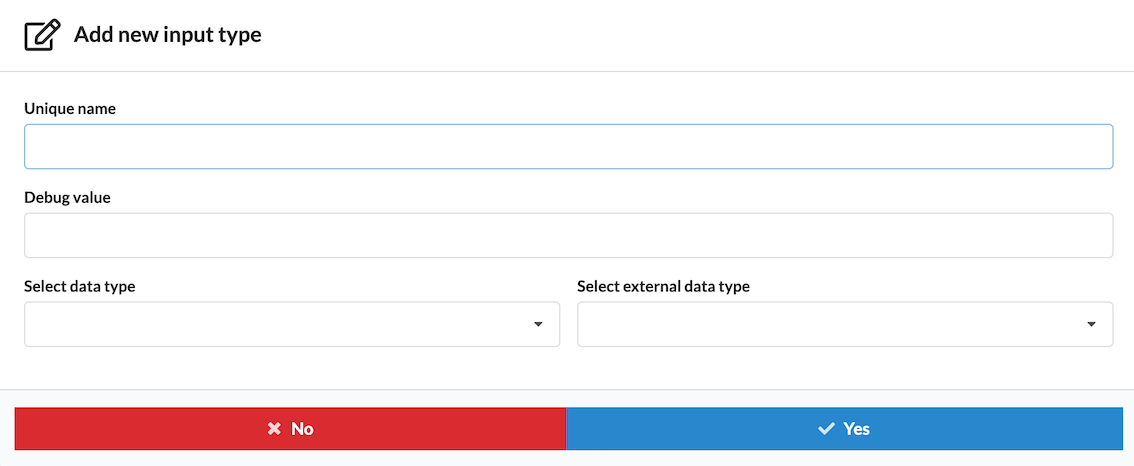
Fill in the required information:
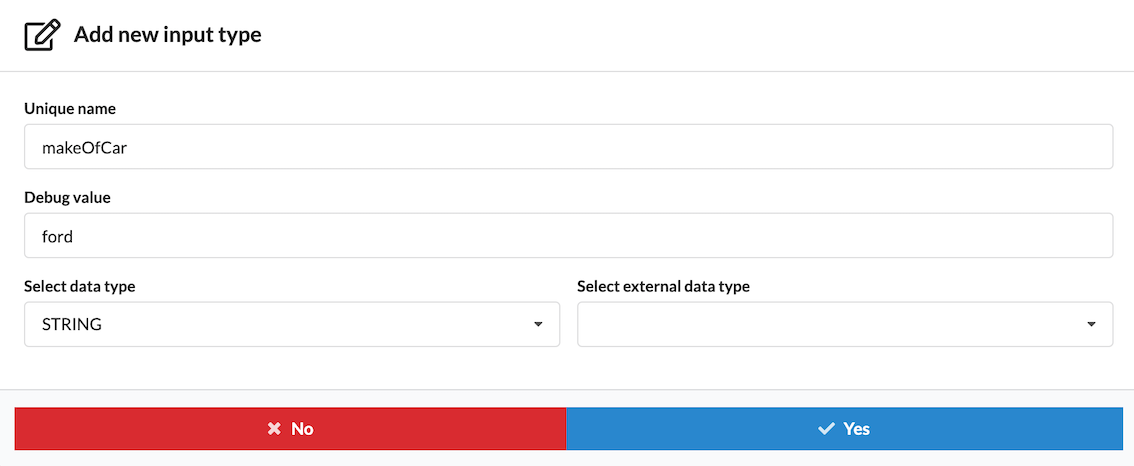
Unique name: makeOfCar
Debug value: ford
Select data type: STRING
Select external data type: This is deprecated and can be ignored.
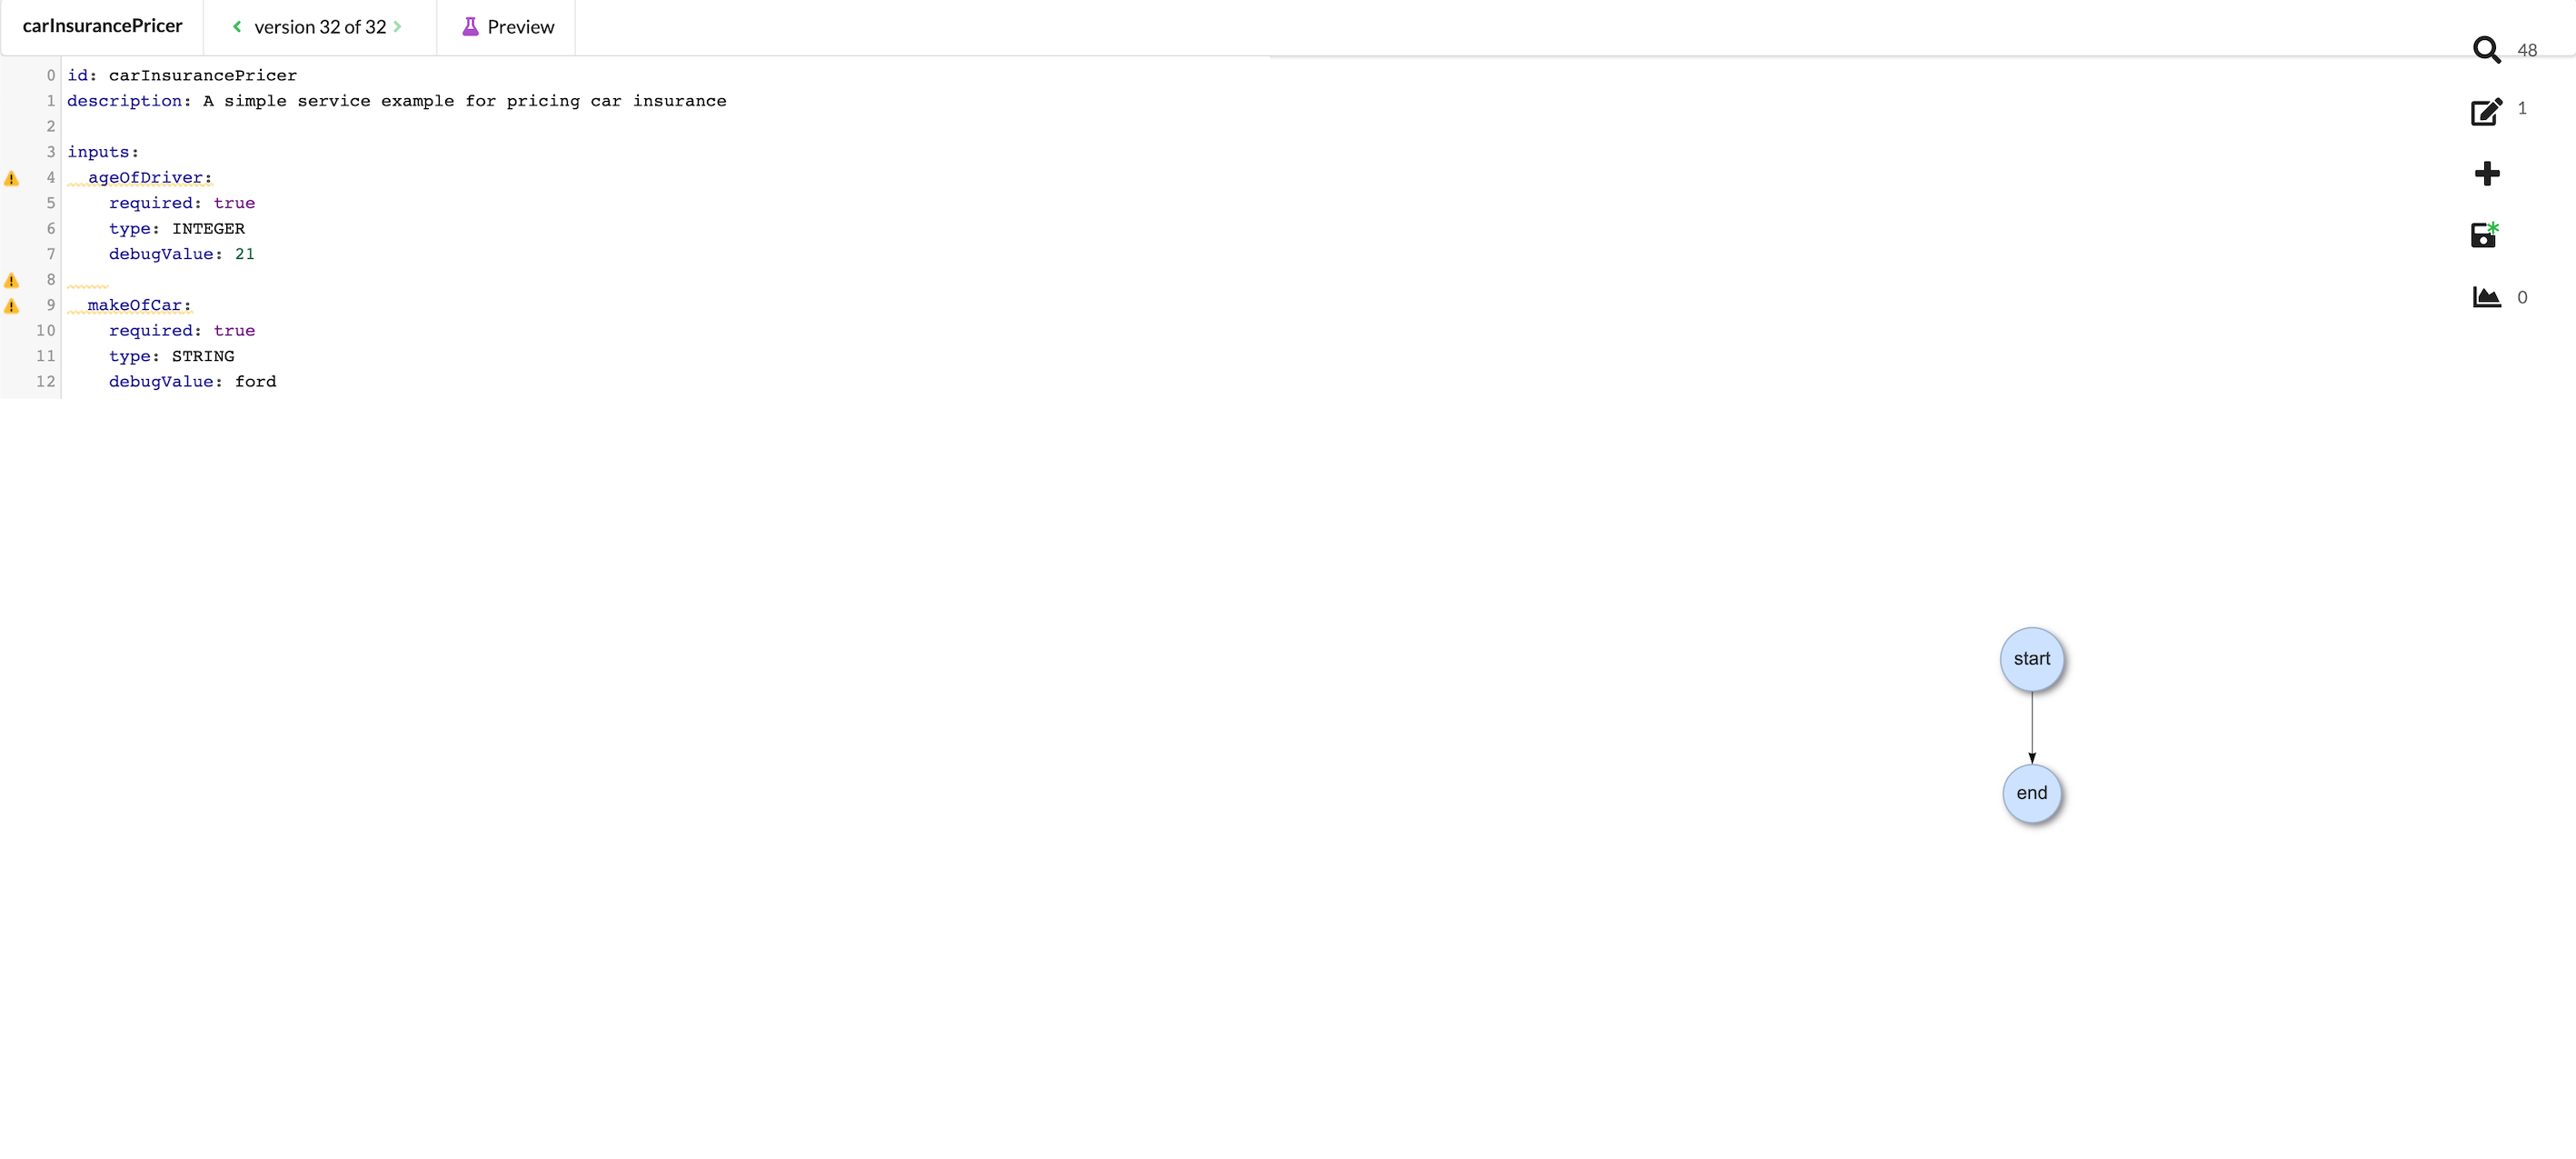
Now, in the flow editor, you should see the following:
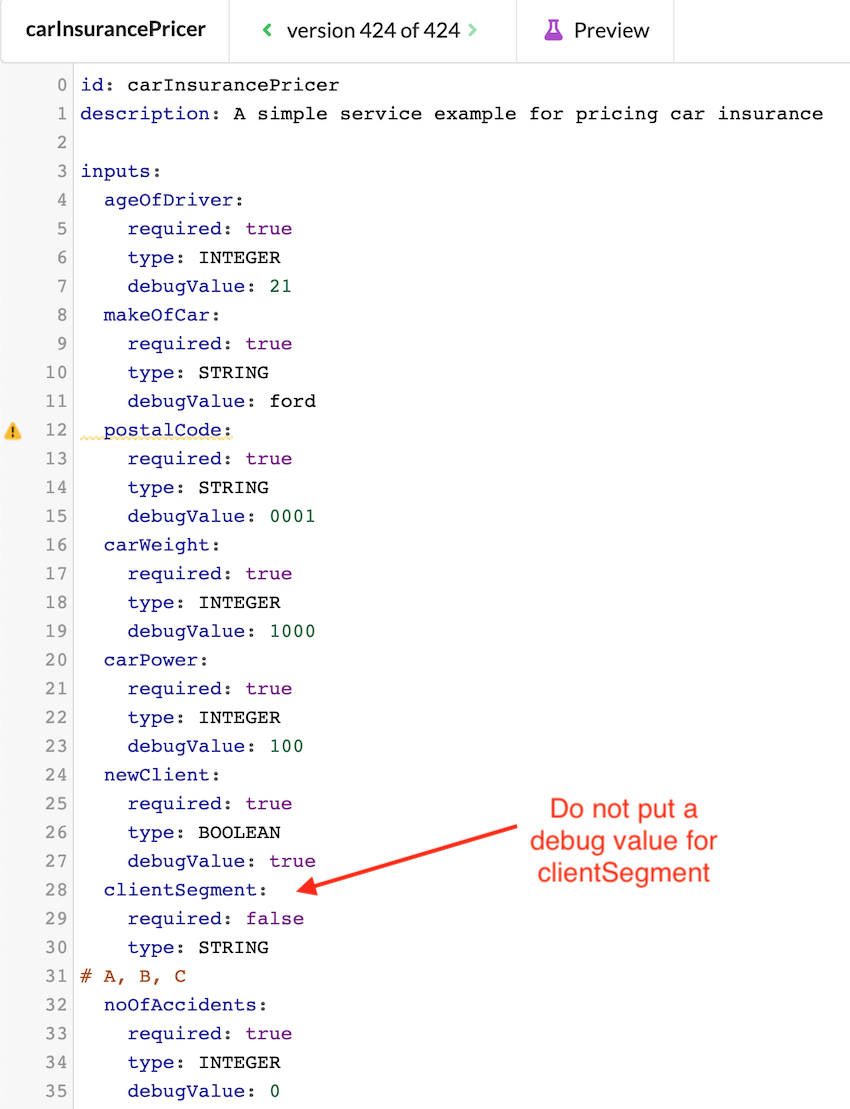
To create the remaining inputs, repeat the same steps that you took to create makeOfCar. Use the examples in the screenshot below as a reference. When you're done, your inputs and flow editor should look like this::

Now that the inputs are all set, we can start creating tasks, decision tables, and doing initial testing.